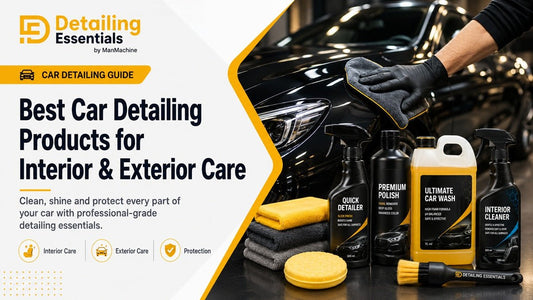
DIY Car Detailing: Pro Results Using Mafra Products
A clean and glossy car always creates a strong impression. But professional detailing is not only for studios or experts. With the right products, tools, and method, you can achieve excellent results at home. DIY car detailing helps you clean, polish, protect, and refresh your vehicle without visiting a detailing centre every time.
Using premium Mafra products, you can safely wash the exterior, clean the interior, remove contaminants, restore shine, refresh tyres, and protect surfaces like a professional.
At Detailing Essentials, you can explore premium car care products, car detailing products, and detailing accessories for your complete DIY detailing routine.
What Is DIY Car Detailing?
DIY car detailing is the process of deep cleaning and maintaining your car by yourself using proper car care products and detailing techniques. It is more detailed than a normal car wash because it focuses on cleaning, correction, protection, and finishing.
DIY detailing can include:
Exterior washing
Paint decontamination
Car polishing
Wheel and tyre cleaning
Interior cleaning
Dashboard care
Upholstery cleaning
Plastic and rubber restoration
Glass cleaning
Wax or protection application
With the right products, even beginners can get a clean, shiny, and well-maintained finish.
Why Choose Mafra Products for DIY Car Detailing?
Mafra is known for professional automotive care products used by car enthusiasts, car wash centres, and detailers. Mafra products are designed to clean effectively while protecting different car surfaces.
Mafra products are useful for DIY detailing because they offer:
Professional-quality results
Easy application
Surface-safe cleaning
Interior and exterior solutions
Products for washing, polishing, degreasing, and protection
Reliable performance for regular maintenance
Whether you want a basic wash or a complete detailing session, Mafra products can help you achieve better results at home.
Step-by-Step Guide to DIY Car Detailing
To get professional results, follow a proper detailing process. Do not rush the steps, because each stage prepares the surface for the next one.
Step 1: Exterior Washing
The first step in DIY car detailing is washing the exterior properly. This removes loose dirt, dust, mud, and road grime from the paint.
Use a quality car wash shampoo with a microfiber wash mitt. Avoid household detergents because they can damage paint protection and make the surface dull.
How to wash:
Rinse the car first to remove loose dirt
Apply shampoo foam or shampoo solution
Wash from top to bottom using a microfiber mitt
Clean one panel at a time
Rinse thoroughly with clean water
Dry with a microfiber drying towel
This helps reduce swirl marks and keeps the paint safe.
Step 2: Paint Decontamination
Even after washing, some contaminants remain stuck to the paint. These may include tar, tree sap, industrial fallout, brake dust, and pollution particles.
Paint decontamination helps make the surface smooth and ready for polishing or wax.
You can use:
Iron remover
Clay bar
Clay mitt
Tar remover
Spray the product as per instructions, allow it to work, rinse properly, and dry the surface. This step helps improve gloss and protection bonding.
Step 3: Car Polishing
Polishing is an important part of DIY car detailing if your paint looks dull or has light scratches, oxidation, or swirl marks. A good polish helps restore clarity and shine.
You can polish by hand or use a polishing machine if you have experience.
Polishing helps:
Remove light defects
Improve gloss
Restore paint clarity
Reduce dullness
Prepare paint for wax or sealant
For beginners, start with a mild polish and soft foam pad. Always work in small sections and wipe residue with a clean microfiber cloth.
Step 4: Wheel and Tyre Cleaning
Wheels and tyres collect brake dust, road grime, mud, and grease. They need dedicated cleaning products because normal shampoo may not remove heavy dirt properly.
Use a wheel cleaner, tyre cleaner, and detailing brush to clean:
Alloy wheels
Wheel nuts
Tyre sidewalls
Wheel arches
Rim corners
After cleaning and drying, apply tyre dressing for a dark, clean, and finished look.
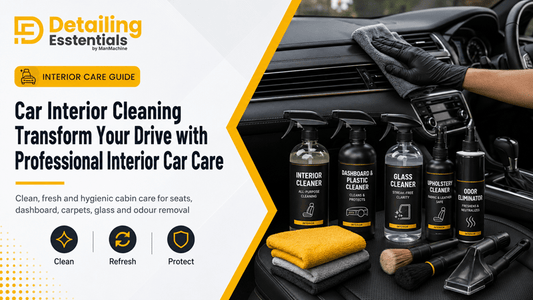
Step 5: Interior Cleaning
A clean interior makes your car more comfortable and hygienic. Dust, sweat, food crumbs, stains, and odours can build up inside the cabin over time.
For interior cleaning, focus on:
Dashboard
Door panels
AC vents
Seats
Floor mats
Carpets
Cup holders
Centre console
Boot space
Use a vacuum cleaner first, then clean surfaces with a suitable interior cleaner and microfiber cloth. Use a detailing brush for vents, buttons, and small gaps.
Step 6: Upholstery and Fabric Cleaning
Fabric seats, carpets, and roof liners can collect stains, dust, and smells. A quality upholstery cleaner helps refresh fabric surfaces and remove light stains.
How to clean upholstery:
Vacuum the surface first
Spray cleaner lightly
Agitate gently with a soft brush
Wipe with a clean microfiber cloth
Allow the area to dry properly
Do not over-wet fabric areas, as excess moisture can cause odour or dampness.
Step 7: Dashboard, Plastic, and Rubber Restoration
Dashboard, plastic trims, and rubber areas can fade or look dull due to sunlight and daily use. A dashboard cleaner or plastic and rubber dressing helps restore a clean, fresh look.
Use it on:
Dashboard
Door trims
Rubber seals
Plastic panels
Centre console
Exterior plastic trims
Apply with a microfiber applicator or cloth. Buff excess product for a natural, non-greasy finish.
Step 8: Glass Cleaning
Clean glass improves visibility and safety. Use a dedicated glass cleaner for windshield, side windows, rear glass, and mirrors.
Tips for clean glass:
Use a separate microfiber cloth for glass
Clean in straight motions
Avoid oily products near glass
Clean inside and outside glass
Buff dry to remove streaks
Clear glass gives your car a cleaner and more premium feel.
Step 9: Wax or Protection
After washing, decontamination, and polishing, apply wax or sealant to protect the paint. Protection helps reduce damage from UV rays, dust, rainwater, bird droppings, and pollution.
Benefits of wax or sealant:
Adds gloss
Protects paint
Improves water beading
Makes future washing easier
Helps maintain shine longer
Apply a thin layer with an applicator pad, allow it to haze as directed, and buff with a microfiber cloth.
Step 10: Final Touches
Final touches give your car the finished detailing look.
Complete the process with:
Tyre dressing
Interior fragrance
Clean mirrors
Door jamb cleaning
Trim dressing
Quick detailer spray
Final microfiber wipe
These small details make your car look professionally detailed.
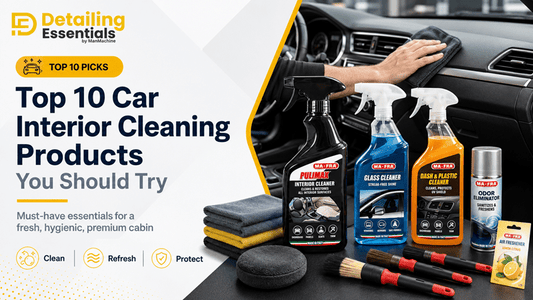
Essential Products for DIY Car Detailing
A good DIY kit should include:
Car wash shampoo
Microfiber wash mitt
Microfiber cloths
Drying towel
Wheel cleaner
Tyre cleaner
Detailing brushes
Interior cleaner
Upholstery cleaner
Glass cleaner
Car polish
Wax or sealant
Applicator pads
Tyre dressing
Foam sprayer
You can find premium car care products and car cleaning tools at Detailing Essentials for your complete car care routine.
Common DIY Car Detailing Mistakes to Avoid
Avoid these mistakes if you want professional results:
Using household detergent
Washing under direct sunlight
Using one cloth for the whole car
Skipping pre-rinse
Using rough towels on paint
Letting shampoo dry on the surface
Polishing dirty paint
Using too much wax or dressing
Spraying cleaner directly on screens
Not drying the car properly
Good technique is just as important as good products.
Tips for Professional Results at Home
To improve your DIY detailing results:
Work in shade
Clean from top to bottom
Use separate cloths for paint, glass, wheels, and interior
Use microfiber towels only
Follow product instructions
Do not rush polishing or waxing
Keep brushes and towels clean
Store products in a cool, dry place
Detail your car regularly
With practice, your results will improve every time.
Who Should Try DIY Car Detailing?
DIY car detailing is perfect for:
Car enthusiasts
Daily car users
Bike and car owners
People who want to save detailing costs
Owners who like maintaining their car personally
Beginners learning car care
Professional detailers building their process
If you enjoy keeping your vehicle clean and shiny, DIY detailing is a rewarding habit.
Complete Your DIY Detailing Kit with Detailing Essentials
At Detailing Essentials, you can explore premium car detailing products, detailing tools, microfiber cloth, and car cleaning kit options for complete car maintenance.
Whether you are washing your car at home or planning a full detailing session, the right products make the process easier, safer, and more effective.
Conclusion
DIY car detailing is a smart way to maintain your vehicle’s shine, cleanliness, comfort, and protection. With the right Mafra products, microfiber towels, brushes, polish, wax, and cleaning method, you can achieve professional-looking results at home.
Start with basic cleaning, follow the correct steps, and upgrade your kit over time. Choose trusted car detailing products from Detailing Essentials and enjoy a clean, glossy, and fresh car every day.
टैग:
पिछला
How to Use Mafra Dashboard Cleaners for a Brand-New Interior Look
अगला
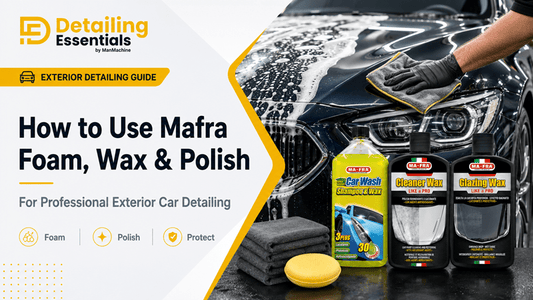
How to Use Mafra Foam, Wax & Polish for Professional Exterior Car Detailing